

Yes, although REAPER may not be as polished as other DAWs such as Logic, Pro Tools, FL Studio, etc., it is still good for MIDI. REAPER allows you to easily use your MIDI keyboard or any other MIDI device and edit MIDI data in the MIDI editor. MIDI In REAPER In the world of modern …
Tips And Techniques

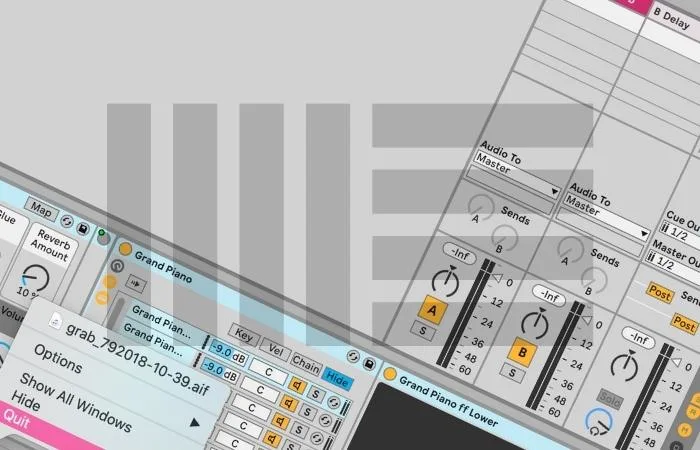
It can be frustrating when Ableton becomes unresponsive, and we have to force quit the program. Thankfully, we can get back to work quickly with this simple fix. Right-click the application icon in the taskbar/dock and hit “force quit.” Now you can reopen Ableton and get back to producing! What To Do When Ableton Freezes …

To quickly delete MIDI mappings to Ableton. Turn on the MIDI map mode switch in the top right corner. Then navigate to your MIDI maps, and highlight the ones you want to remove. Finally, hit the Delete or Backspace key to remove the MIDI map. Deleting MIDI Mapping In Ableton Live Customizing any parameter (e.g., …

One of the most common causes for white noise in FL Studio is which audio device you have selected in the audio settings tab, found in the main options drop-down menu. Try using either the default FL Studio ASIO driver or your audio interface device, which should fix most noise issues. Having Unwanted White Noise …

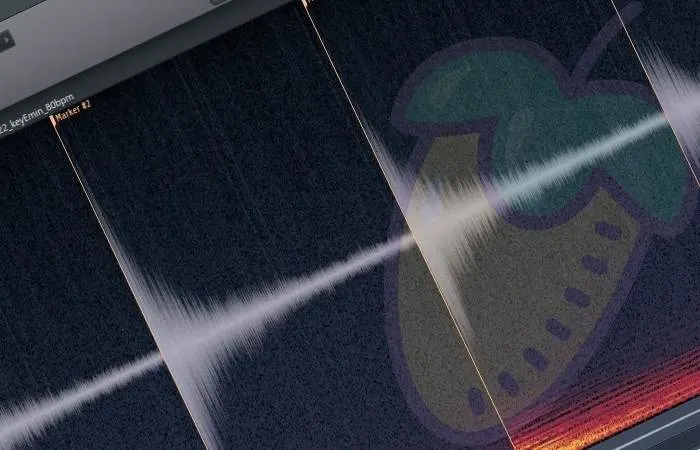
To quickly find the tempo of a sample or song in FL Studio, first, you will want to click on the small waveform icon at the top left of the clip in the playlist view. From the subsequent drop-down menu, select ‘detect tempo’ and choose the most accurate bpm ranges. Finding The BPM In FL …

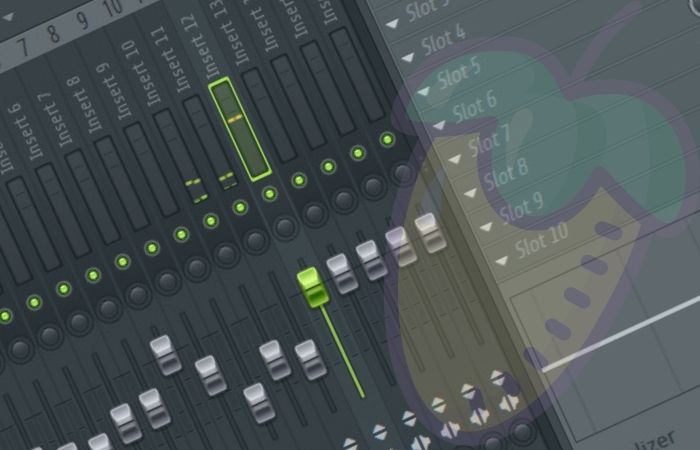
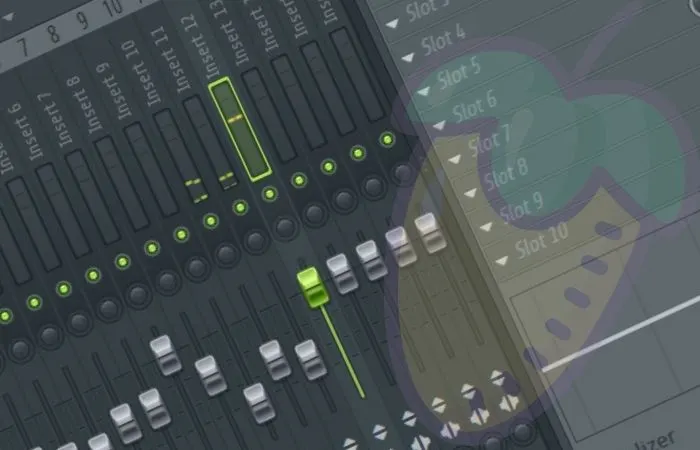
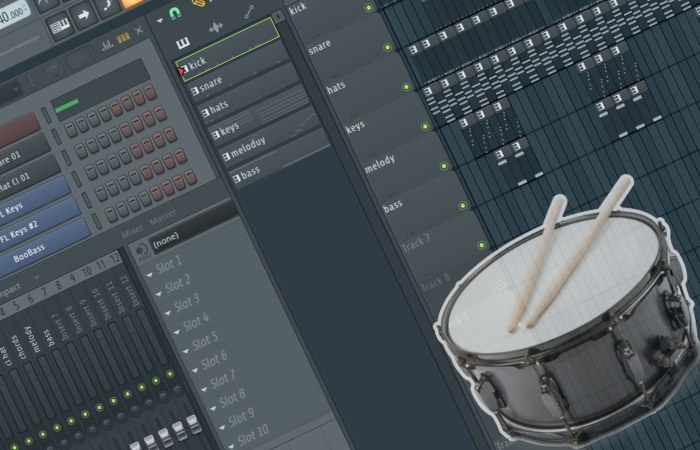
To quickly lock any type of track in FL Studio, all you need to do is shift-click on the small green light on the desired track. Once done, you will notice a small lock icon appears in place of the light, which indicates that the track is locked in its current state. Locking Tracks In …
Common fixes for MIDI recording issues in FL Studio can be ensuring you have your MIDI device set up and enabled in the MIDI settings tab. Another fix relating to incorrectly MIDI note placement after recording can be to enter the audio settings tab, change the playback tracking setting to the driver option and bring …
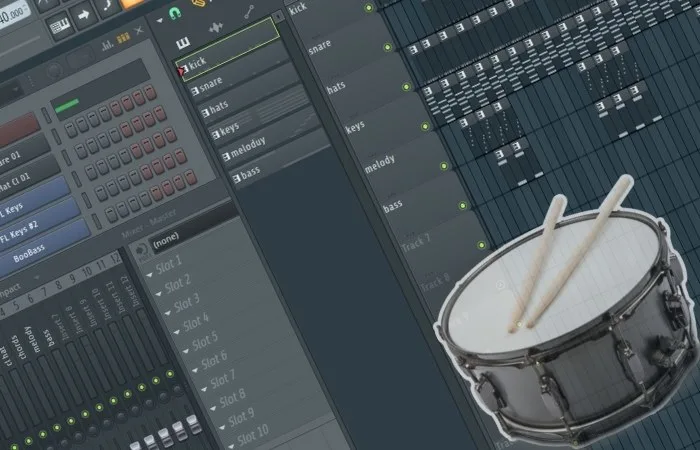
If you are trying to unmute clips within the playlist view, you can select the desired muted clips and then use the Alt+Shift+M keyboard shortcut to unmute them. Small green lights on both playlist and mixer tracks can also be clicked to mute/unmute them, respectively. Unmuting In FL Studio For new music producers using FL …

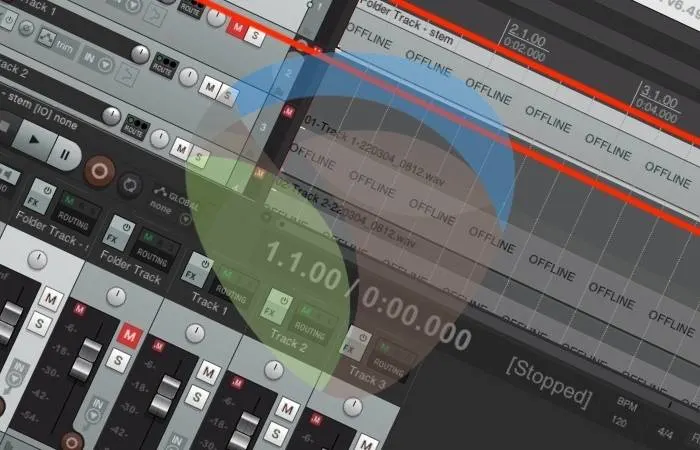
To merge tracks in REAPER, start by inserting a new track as a folder track and place the tracks you want to merge under this folder track. Next, right-click the folder track, select ‘Render/freeze tracks,’ and choose either the mono or stereo option. Merging Tracks In REAPER Merging multiple tracks can be very helpful for …

Adding new presets to plugins can be a complicated process, as it varies significantly from plugin to plugin. In most cases, you will want to find the plugins preset folder on your computer, which is where you can add any new presets for the desired VST. Adding Presets To FL Studio Having the option of …

To undo channel routing in FL Studio, you will want to first click on the channel being routed to another one. Once selected, you can find the channel it is being routed to and then click on the small arrow at the very bottom of the mixer channel. Undoing Channel Routing In FL Studio Channel …
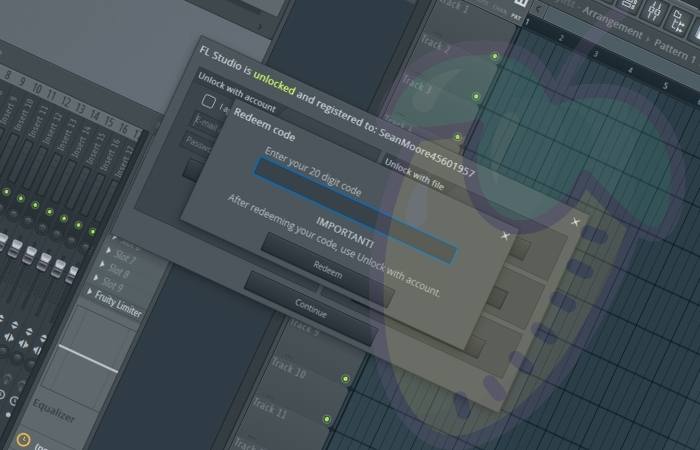
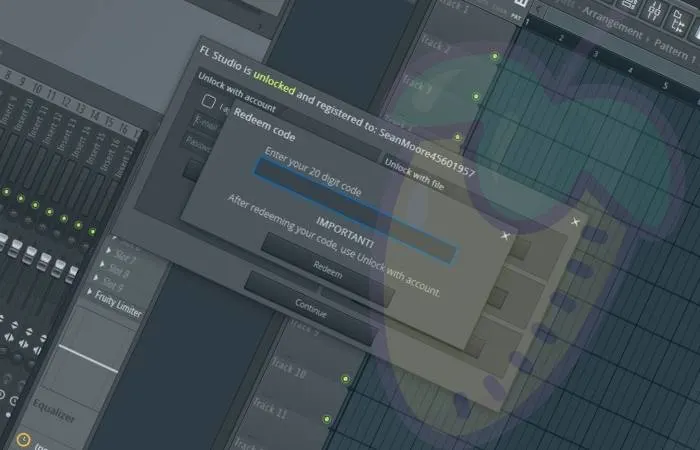
To convert FL Studio Demo to the full version, download and install the application, create an account with Image-Line, and purchase the software license through the DAW or manufacturer’s website. Then enter your product license, and restart the Fruity Loops. You’re ready to rock! Converting FL Studio Demo To The Full Version Are you looking …


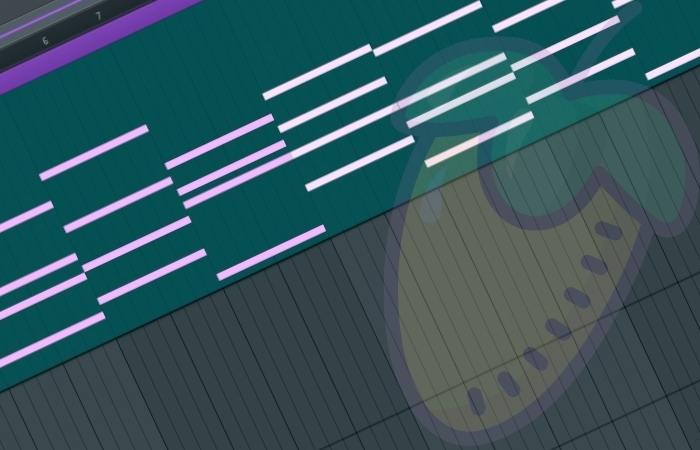
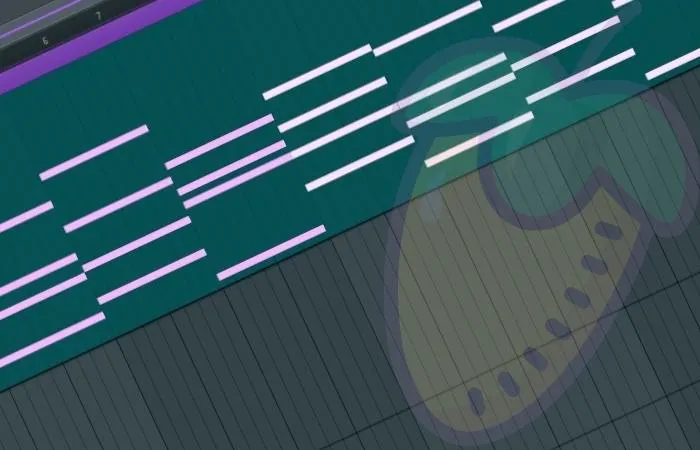
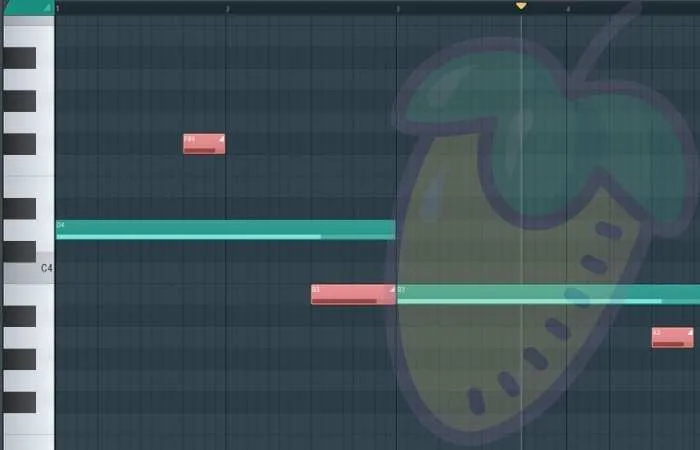
To quickly select and move a group of notes in the FL Studio piano roll, press ctrl+left click and drag over the desired notes. Once selected, you can move the notes by clicking and dragging them to a new position. Moving A Group Of Notes In FL Studio Selecting and then moving groups of notes …

To disable monitoring in REAPER, open the ‘Options’ drop-down menu and select ‘Preferences’>’ Track/Send Defaults.’ Next, open the ‘Record config’ pop-up menu and de-select ‘Monitor Input.’ You can also disable monitoring on a track-by-track basis by toggling through each track’s ‘Record Monitoring’ button. Disabling Monitoring In REAPER Having input monitoring enabled while trying to record …
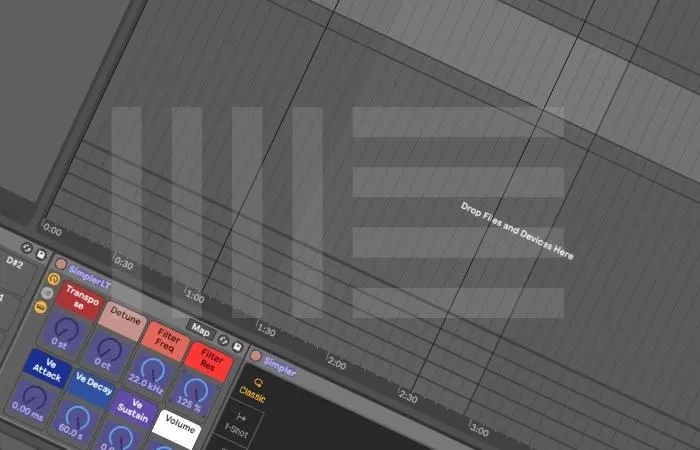
How to automate tempo in Ableton Arrangement View is simple. All you need to do is switch on Automation Mode, navigate to and expand the Master track, set up your desired tempo range, and click and drag the red line in the track to change your tempo over time. Ableton Live’s ability to automate tempo …

Setting up a microphone is relatively straightforward in Studio One. Once you add a new track, make sure to properly route the channel according to the input on your audio interface. Once you get the latency to a minimum, you’ll be ready to record. Learning to set up your microphone is probably the single most …
To use a MIDI keyboard controller in REAPER, connect the device to your computer and install the necessary drivers. Next, select Options>Preferences>MIDI Devices and enable the input and output for the device. Finally, you can insert a new track into your project and select the correct MIDI input. Using A MIDI Keyboard In REAPER A …

To quickly delete an automation clip, simply right-click on it within the playlist view, and it will disappear. To completely delete the automation, you can right-click on it from within the automation browser to the right of the playlist view and select delete. Deleting Automation In FL Studio Automation clips are a great feature within …
To use drum samples in REAPER, start by dropping in audio files of whatever samples you want to work with. Once you have done this, you can copy-paste, chop, loop, reverse, rearrange, and mix your drum samples however you see fit. Using Drum Samples In REAPER Using drum samples to create interesting, cohesive, driving rhythms …

Most sound issues in FL Studio can be fixed through the audio settings menu and ensuring that you have the correct input/output devices selected there. You may also want to double-check that your master audio track is routed to the correct audio output. Sound Issues In FL Studio Having sound issues in FL Studio is …

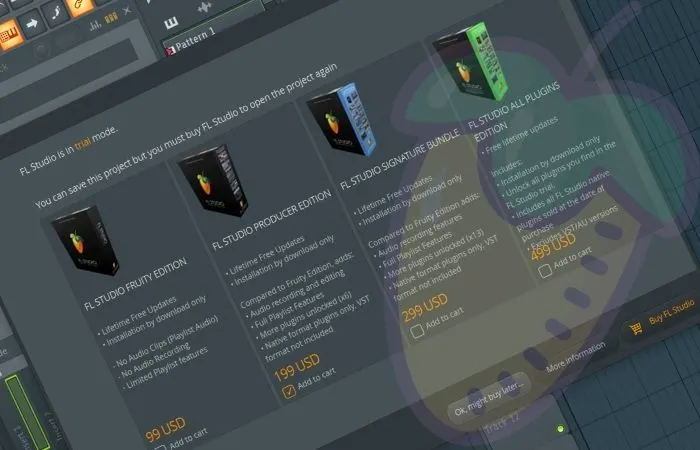
Saving files in FL Studio Demo or Trial is quick and easy. Choose a File and then Save As. Re-opening the files with the Demo isn’t, however, possible. That’s ok because there are workarounds like exporting the stems from the song, creating a new project, and then dropping the stems in the new project. Saving …
To cut in REAPER, start by right-clicking the item you want to cut. Once you have done this, scroll down and click ‘Cut items.’ You can also cut individual sections of media items by clicking ‘Cut selected area of items’ once your desired section is selected. Cutting In REAPER Cutting is one of the most …
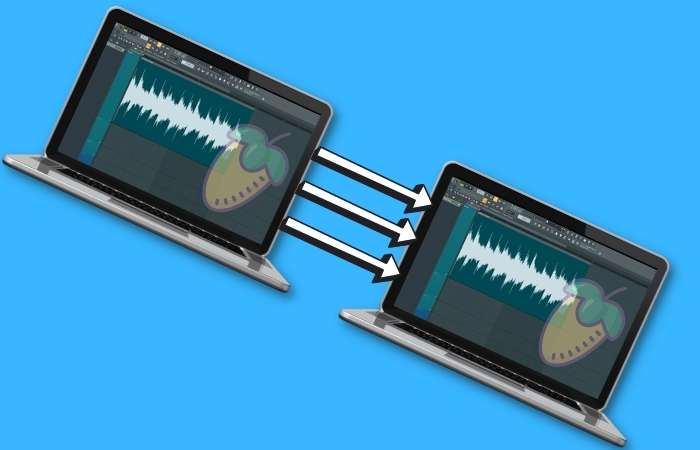

Unfortunately, you can not directly transfer FL Studio from one computer to another. However, you can download FL Studio on multiple systems as long as you are the only user of that license. Once you have done this, you can also transfer any samples or programs to the other computer. Transfering FL Studio Trying to …
The key to working with OBS and FL Studio is getting the configuration and settings adjusted and working correctly. The most common issue is not recording the audio coming from FL Studio in OBS. Routing the audio properly is the trick to getting things working and running smoothly. Using OBS With FL Studio If you’re …
There are two methods you can stretch a sample within FL Studio. Firstly, you can use the stretch feature, which is accessed using Shift+M from within the playlist view and dragging the sample to stretch it. Alternatively, you can open the sampler window and access more detailed time stretch controls. Sample Stretching In FL Studio …

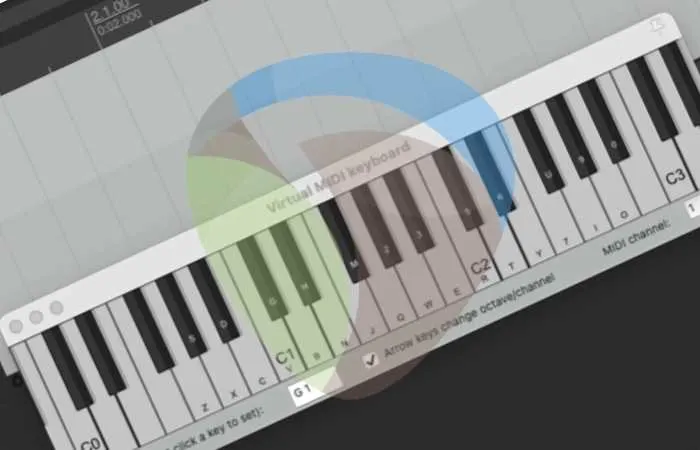
To record MIDI in REAPER, start by setting the correct MIDI input on the track you want to use and your MIDI preferences. Now, you can record MIDI using a MIDI keyboard, the virtual MIDI keyboard within REAPER, or the MIDI editor window to input MIDI data manually. Recording MIDI In REAPER Sampled/VST instruments are …

To merge audio clips in FL Studio, arrange the audio clips on a single Track in the FL Studio Playlist. Then click the “Playlist Track Header, Right-Click Menu” and select Consolidate this track. Choose to consolidate from the very start of the Playlist or from the selection start. Merging Audio In FL Studio During the …

There are various ways in which you can chop a sample in FL Studio. Using native plugins such as Edison or Slicex is a great way to go. They are both designed to manipulate samples differently and make chopping samples very simple. Chopping Samples In FL Studio The ability to chop samples is essential in …

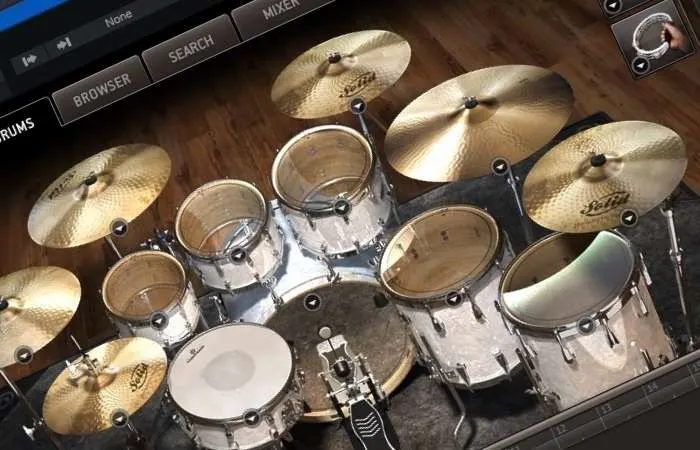
EZdrummer is used just like any other VST in Studio One. You find your EZdrummer VST in the Instrument section and drag and drop it onto the main Studio One window. After the samples are loaded, EZdrummer is ready to be your virtual drummer. Most bedroom musicians rely on programmed drums to demo their songs …
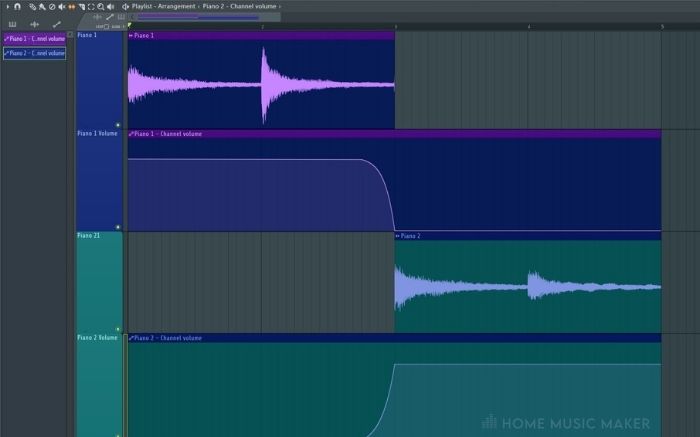
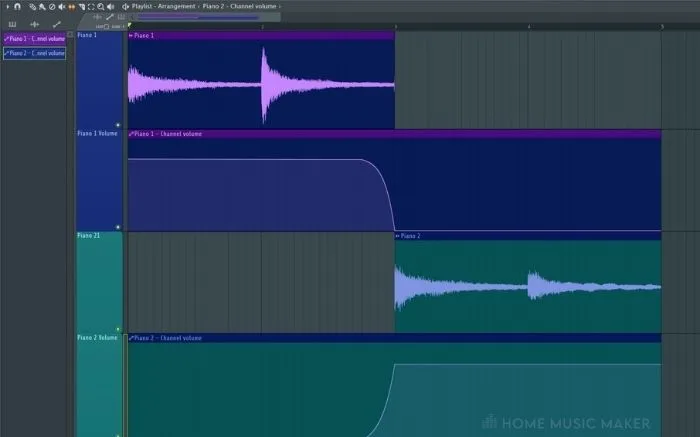
Crossfading in FL Studio can be achieved in two different ways. You can either create a fade using the crossfade declicking mode in the sampler window. Alternatively, you can create volume automation of both sounds and make your crossfades manually. Using Crossfades In FL Studio Creating crossfades can be a great way of seamlessly moving …

If you are looking to stop your FL Studio from lagging, one of the first things that you can do is to open up your audio settings and ensure that your buffer length is at the highest setting. In addition, you can try setting the priority to the highest option. FL Studio Lag Putting up …


You can change the tempo in Studio One in two ways. You can do it by adding markers through the commands on the tempo track or by using the paint tool and drawing a tempo map. KEY TAKEAWAYS: You can change the tempo in Studio One in two ways. You can do it by adding …

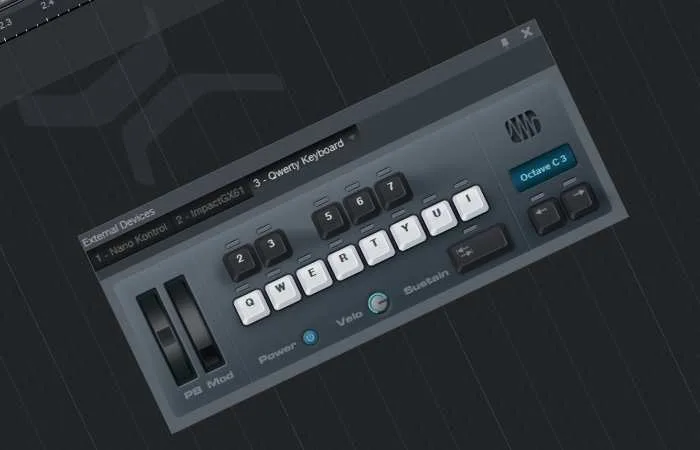
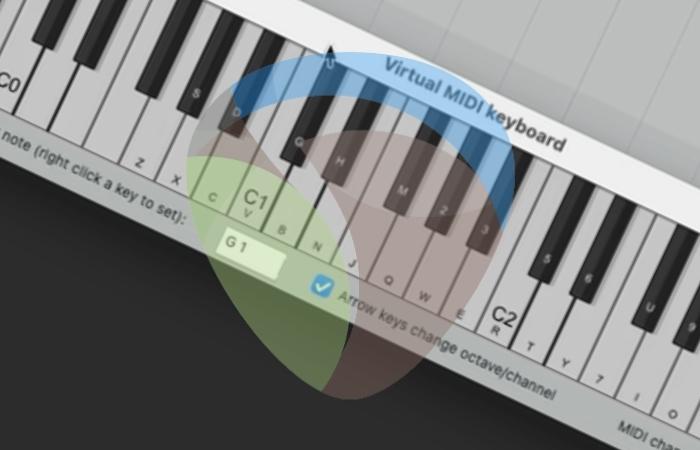
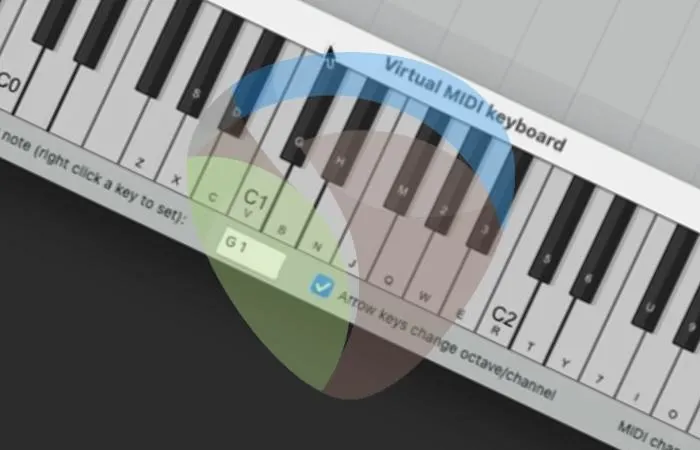
Using a QWERTY keyboard is simple- you can access it by pressing Caps Lock. After loading any virtual instrument and properly routing everything, you should be able to play it with no problems. As much as MIDI controllers are cool and useful, we may prioritize different things on certain occasions. What Is A QWERTY Keyboard? Producers …
If you want to use the ‘Make Unique’ feature in fl studio, you can Simply Click open up the drop-down options for either an audio sample or MIDI clip in the playlist view, and then select the ‘make unique’ option from the list. What Is Make Unique In FL Studio ‘Make Unique’ is a handy …
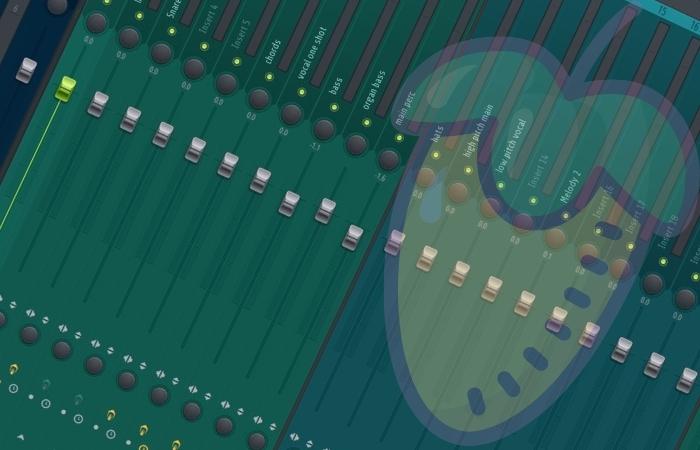
To mix in mono in FL Studio, you use the Track Separation Knobs on mixer channels. It’s recommended to periodically check the mix of a track in mono to ensure it sounds acceptable during the creation process. This prevents the song from sounding bad in other environments. Mixing In Mono One of the critical steps …


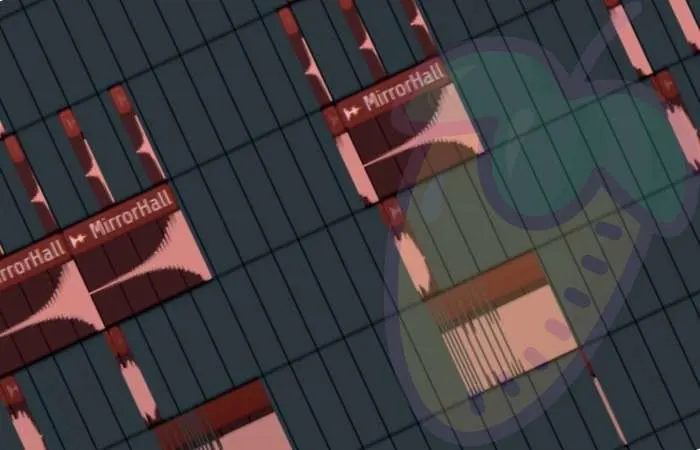
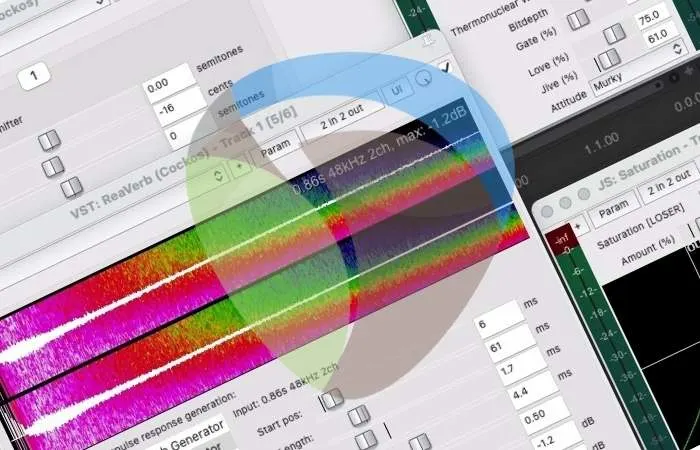
To mix vocals in REAPER, start by using ‘ReaTune,’ ‘ReaEQ,’ ‘De-esser,’ and ‘ReaGate’ to clean up your vocal track. After you have done this, you can use ‘Saturation,’ ‘ReaComp,’ and volume automation to control your vocal track. Finally, insert ‘ReaVerb’ and ‘ReaDelay’ to enhance your vocal track and add effects. Mixing Vocals In REAPER Mixing …

If you are looking to import an MP3 file type into FL Studio, the fastest way to do this is by simply clicking and dragging the MP3 file directly into FL Studio. You can drag the MP3 file either into the sequencer or directly into the playlist view. Importing MP3s Into FL Studio Importing MP3 …
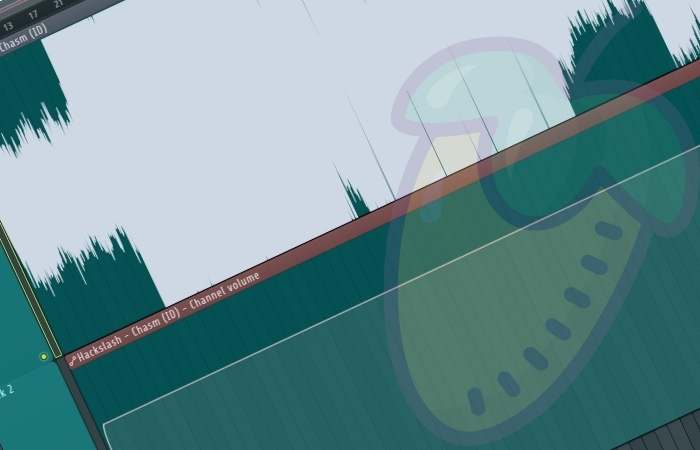

There are many ways you can create fades in FL Studio. Still, the simplest method involves creating and automating the volume of the desired sound. Using automation clips means you can have precise control over the volume over a period of time. Using Fades In FL Studio Creating fades in is a vital skill for …
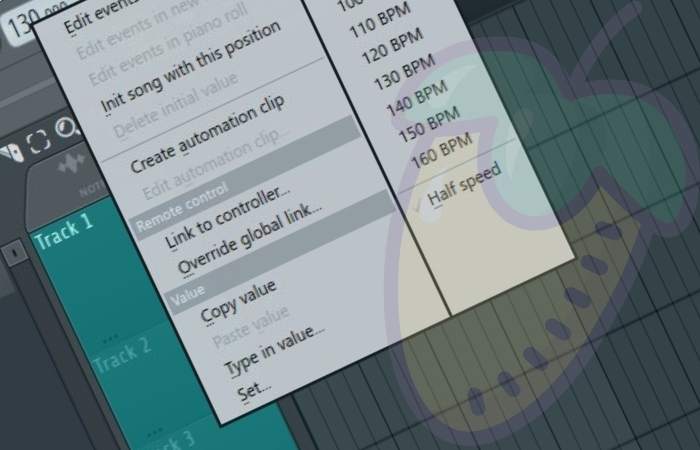
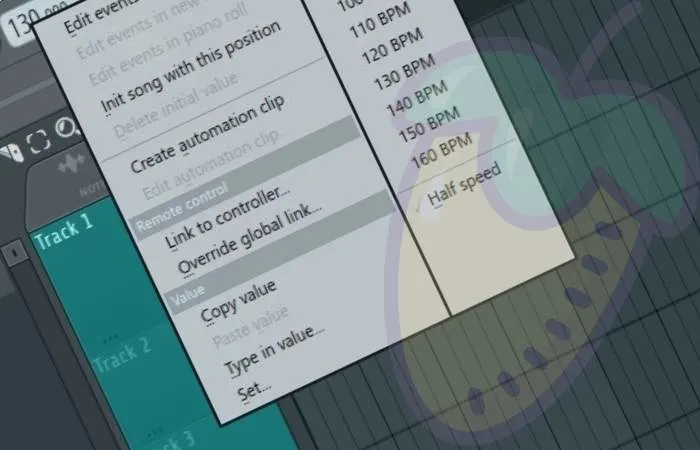
If you are looking to change the tempo of your project in FL Studio, you can edit this by increasing or decreasing the BPM indicator, which can be found on the righthand side of the record button on the top toolbar. Changing The Tempo In FL Studio Knowing how to change the tempo is a …

The only virtual instrument that comes with REAPER is a very basic synthesizer engine called ‘ReaSynth.’ Although REAPER hardly comes with any virtual instruments, companies like Spitfire Audio and Native Instruments both offer bundles of virtual instruments that you can download and use for free. Virtual Instruments and REAPER A virtual instrument is a VST …
To add drum kits to FL Studio, locate the drum kit directory on your computer and drag it into the FL Studio Browser. Alternatively, open the FL Studio Preferences or Options, select the File tab, and add the path to the drum kit’s directory. Drum Kits In Fl Studio Drum kits work as foundational jumping …

If you are looking to slide notes within FL Studio, you have three main options. You can either use the slide note feature from within the piano roll, use a slide feature built into a VST, or create slides via pitch automation. Introduction Being able to quickly and effectively slide notes in your DAW is …
KEY TAKEAWAYS: Autotune is a powerful tool in any modern producer’s arsenal. Luckily, there are several ways to achieve it within FL Studio. Native FL Studio plugins NewTone and Pitcher are a simple and effective way to accomplish that autotune sound in Fruity Loops Studio. FL Studio Autotune Autotune has become so commonplace that it …

To change your REAPER theme, all you will usually have to do is download a new theme and then drag and drop it into REAPER. An excellent place for you to find some of the best REAPER themes is under the ‘RESOURCES’ section on the REAPER website. REAPER Themes Changing your theme in Cockos REAPER …

To quantize in REAPER, you can manually split and edit audio using the ‘Dynamic split’ function to separate audio based on transients. You can also stretch audio by holding the ‘alt’ key and dragging where a split occurs. You can quantize MIDI items using the MIDI editor. Quantizing In REAPER When it comes to producing …


To master a track in REAPER, start by inserting a stereo WAV file of your final mixdown into a new REAPER project file. Once you have done this, you can begin mastering by inserting different plugins onto the ‘MASTER’ track to shape the sound of your song. Mastering In REAPER Mastering is the essential final …
To loop individual tracks in REAPER is simple. All you will have to do is drop an audio file, drag it to your desired size, double click its edge to set the loop length, and then the item will loop as you drag it forward in the project. Looping In REAPER Looping is a handy …


Sampling in FL Studio can be achieved in various ways, most commonly utilizing the native plugin called Edison. From within Edison, you can record, slice, and edit your audio in many different ways, which can be added to your project. Sampling In FL Studio Sampling in FL Studio can be slightly confusing for those new …


The first thing for you to fix latency in REAPER is that you have the correct audio driver installed for your system. If you are still having latency issues, the next thing for you to do is manually offset the latency in REAPER’s preferences under ‘Recording.’ Latency In REAPER There is nothing more frustrating than …

Performing a tape stop effect in FL Studio is a great way to add an exciting element to your track. Luckily it can easily be achieved by using the native FL Studio plugin, ‘Gross Beat,’ and modulating the time parameter. The Tape Stop Effect The tape stop effect is a commonly used trick in many …