

There are a few factors to consider for pricing your mixing and mastering services. Some things that you should keep in mind are your experience level, your client base, and other mixing/mastering engineer rates in your area. Remember also you can always adjust your rates over time.
Tips And Techniques
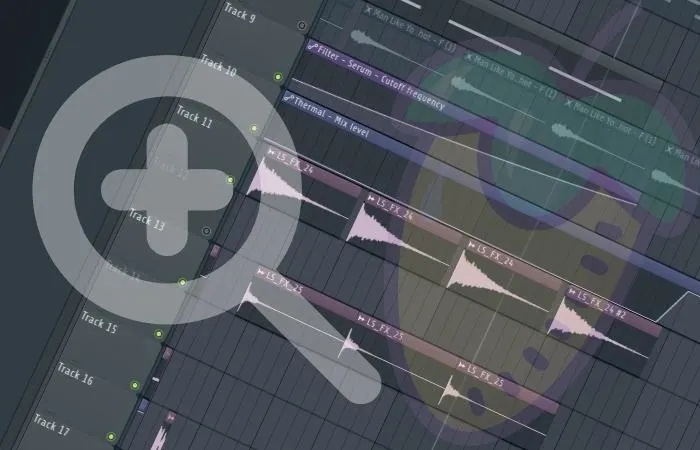
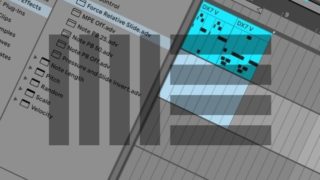
Select all items using CTRL+A/CMD+A. Click on one of the items and drag it to move it around. To move everything, including the markers, press ALT+P twice. Then drag one of the items to drag everything. This is the ripple editing mode for all tracks. REAPER Move Everything The ability to edit different elements of …

When the Ableton record button is not functioning, it’s simple to fix. You need to navigate to Ableton Preferences and turn the Record / Warp / Launch option to On. Once you have done this and are ready to record, the recording button will work. You have been working hard in the studio, finished for …

Yes, multiple third-party, including Shaperbox and Stutter Edit plugins, achieve similar results. You can also use Gross Beat in Ableton if you purchase the VST version or even build a Gross Beat clone with Max 4 Live. Is There An Alternative Of Gross Beat For Ableton? Image Line’s Gross Beat is one of the most …
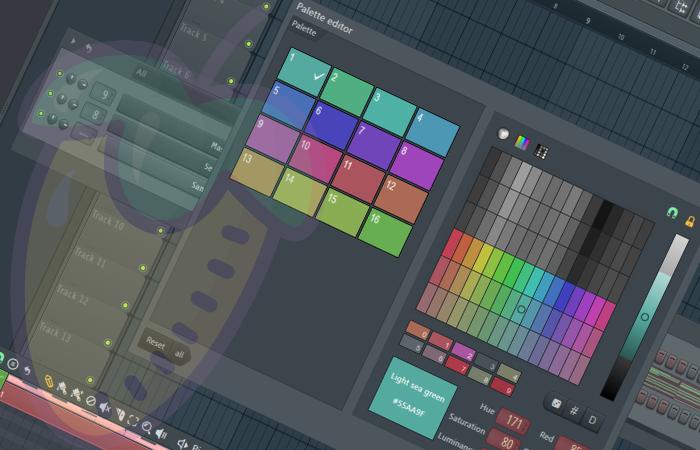
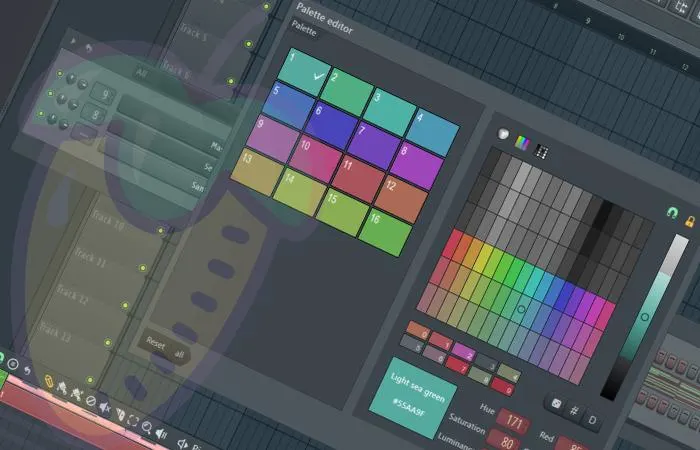
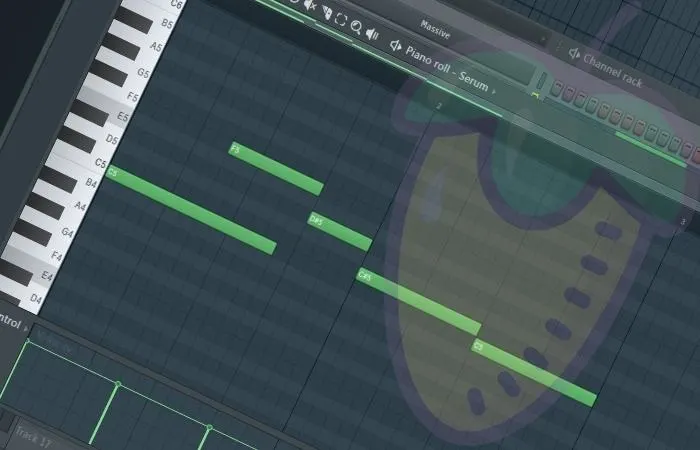
To change the MIDI note color, go to the drop-down arrow > Edit > Change Colour in the Piano Roll view. This will bring up the color wheel, allowing you to select any color for your notes. Pimp My DAW! Everyone loves to customize in music production and make things their own. Whether you want …

There is no right or wrong answer here objectively. We can look at this on a song-by-song basis. Specific genres and artists will have more of a focus on one or the other. Both are extremely important for the most part. Lyrics And Music It’s one of the first questions I remember being asked when …
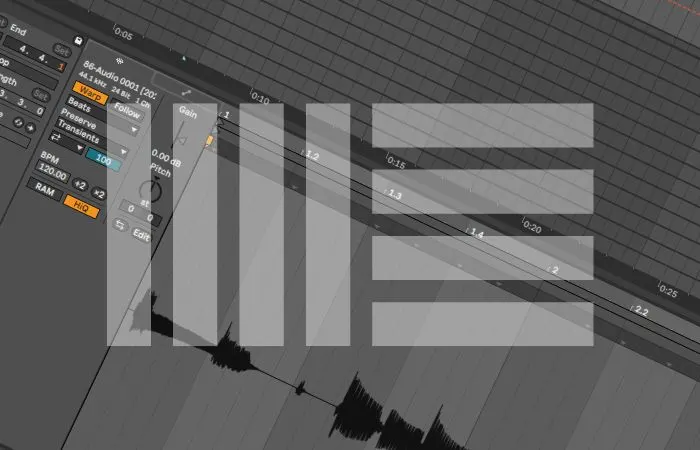
Creating an octave effect in Ableton after recording requires you to duplicate the track and pitch the duplicate audio clip down or up by 12 semitones. You can also use a free third-party plugin like Pitchproof to get this effect in real-time. Octave Effect In Ableton So, you want an octave effect in Ableton? Maybe …


You will need to use a firewall to stop Ableton from connecting to the internet. This allows you to block the internet from being connected to any program. Within Ableton, you can turn off automatic updates and the ability to send user data. Ableton And The Internet It can be frustrating when trying to stop …
Crackling happens when the CPU load is too high for your computer setup. You don’t want to decrease your buffer size, resulting in delay. Instead, get rid of the plugins that are CPU intensive during recording. An example of a CPU-intensive plugin is reverb and some tape emulations. REAPER And Crackling This issue used to …

Normalization in REAPER is achieved by selecting the audio item and pressing Ctrl+Shift+N. To normalize multiple audio items, select the audio items you want and press Ctrl+Shift+N. To normalize multiple audio items in the same track using a common gain, select the items and press Ctrl+N. Normalization Normalization is an audio process you hear thrown …
Ableton uses the track activator button to turn a track on and off. When it’s on, the track is unmuted. When it’s off, the track is muted. This button is located on the track head and has the track number displayed inside of it. Ableton And Muting Muting is an essential part of music production …

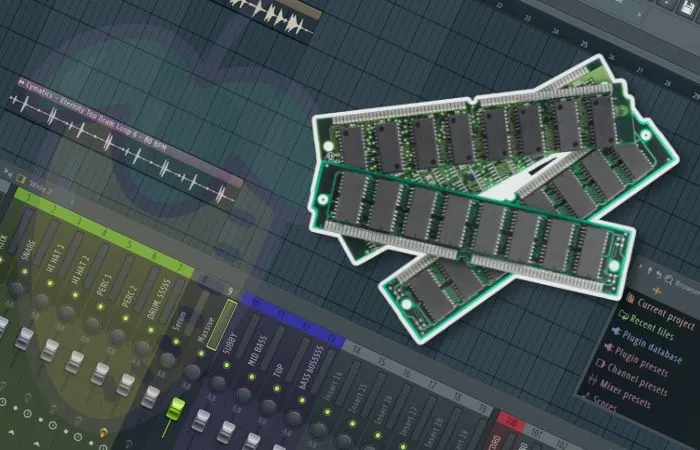
The quickest method to free up RAM (Random Access Memory) for use in FL Studio is to close any background PC applications or to use the “Smart Disable For All Plugins” option under Tools > Macros > Smart Disable. This shuts off any plugins that aren’t currently being used. Quality Over Quantity, Or Is It …
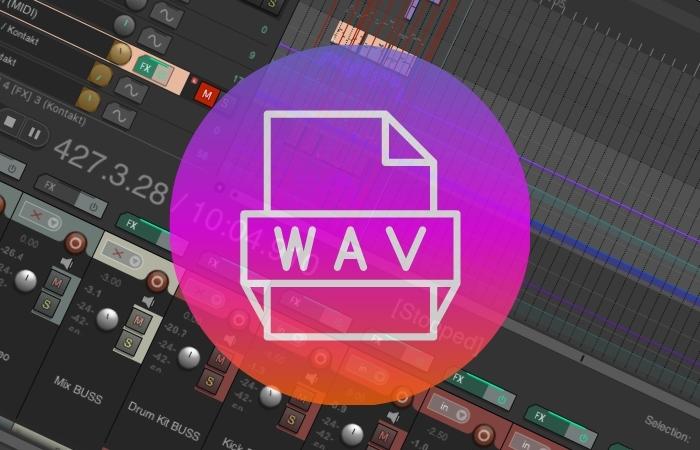

Importing a WAV file into REAPER is as simple as dragging and dropping the WAV file(s) into a REAPER project. REAPER will automatically create a track for it from there. You can also press Insert>Media file and import a WAV file. REAPER Importing WAV Files If you don’t know how to import WAV files into …

The zoom function is a necessity for working efficiently in FL Studio. The most straightforward method to zoom in on your piano roll is to hold CTRL+Scroll (CMD+Scroll – MAC) with the mouse wheel. This is interchangeable with the playlist view as well. Zoom Zoom! Time and time again, hotkeys and keyboard shortcuts save time, …

Grayed-out tracks mean a clip was launched in session view and is still active. This won’t allow you to hear your tracks in arrangement view. At the top right corner of the arrangement view, there is an orange button called the back to arrangement button. Click this to solve the problem. Grayed Out Ableton Tracks …
To correctly map MIDI in Ableton Live, you must first ensure that your MIDI device is plugged in and selected as a MIDI input device within Ableton’s preferences. Then you turn MIDI map mode on and proceed to MIDI map your control surface. Mapping MIDI In Ableton? Have you ever tried to map MIDI in …


To overdub MIDI, you need to have the MIDI arrangement overdub button switched on. Now when you click record, it won’t overwrite the MIDI clip. Why Is Overdubbing MIDI Important? Overdubbing MIDI is a fantastic way to add complex layers to your chords, drums, and melodies. It allows you to expand your sound palette without …

Record arming a track in REAPER is as simple as clicking the ‘Record Arm’ button (circular red button with a white ring inside) on the track you want to record with. From here, you can also select the desired input from the drop-down input menu. Record Arming In REAPER If you don’t know how to …
Ableton Live is an incredibly powerful audio recording and mixing tool. Still, contrary to what some may say, it can not be used to record audio directly from YouTube. The good news is that it’s still possible, just not directly. You can use third-party software like Audacity or a YouTube to MP3 converter. Can I …
Snapping to grid is a super handy tool for your workflow in that it allows you to swap grid sizes when working in different beat/time signatures. To change your grid window selection, look for the drop-down arrow usually labeled “none” in your top toolbar. Time Is Like A River… It ebbs and flows, just like …


There are several reasons why your eyes water when you sing. These are both emotional and physical. For instance, unresolved emotions triggered by song lyrics, perhaps nerves have got the better of you, or the song is simply too hard for you to sing. Or it could simply be down to eye irritation or the …


There are a few ways to send FL Studio projects. The most commonly used is a Zipped Loop Package, which will contain all of the associated files, data, and VST info. Simply go to File > Export > Zipped Loop Package. Collaboration! One of my favorite things about being a music producer (and using FL …

Ultimately this is a process of elimination. While there are a few reasons you may have no sound when you export from FL Studio, the best method is to check that nothing anywhere is muted, that the “export entire project” button in export settings is checked, and that your plugins are not the culprit. The …

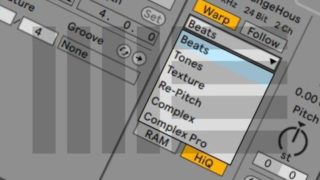
The whole point of using grooves is to add those subtle extra details to a part that breathes a little more life into it. My favorites for this are: Beguine Accent 16ths Calypso Accent 16ths Cha-Cha-Cha Shaker 8ths 127bpm Hip-Hop Wonky 16ths 80bpm Rock Fatback Accent 16ths These grooves seem to get the dynamic range, …


Mixing vocals is hard because they are often the most prominent part of a song. This means that any imperfection will stand out more than any other instrument since the listener will pay the most attention to it. There is no room for mistakes when mixing vocals! Mixing Vocals Is Not Easy! Vocals are arguably …

FL Studio channel rack not showing can be a real headache, but you can use your keyboard shortcut key (F6) to bring it into focus. If the rack doesn’t show immediately, close all open windows (F12) and then use F6 again. It Was There Last Time… The channel rack is an essential part of your …
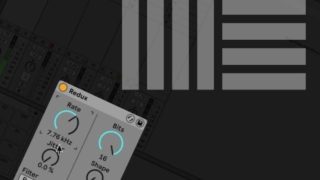

Ableton has a built-in Bitcrusher plugin called “Redux.” A Bitcrusher is an audio effect that applies digital distortion. This is achieved by changing the signal’s sample rate and bit depth. Other parameters such as ‘Dry/Wet’ can be altered to shape the sound further. Does Ableton Have A Bitcrusher? You might not realize that Ableton has …

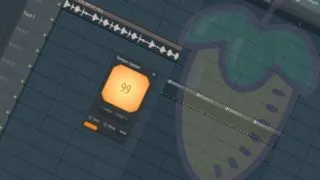
To manually tap tempo within FL Studio, locate the digital display of the current tempo of your project, right-click it and select Tap. You can now use your mouse or any key on your keyboard to tap along and set a new tempo. How Can This Help You? Have you ever listened to a recording, …

First, check to see if the MIDI keyboard is registering in Ableton. Second, ensure that you have a virtual instrument on the MIDI track (and that the record arm button is activated). Finally, check that the MIDI keyboard is set up correctly in Ableton. Why Is My MIDI Keyboard Not Working Ableton A MIDI keyboard …

Pitch bending in Ableton is easy. Most virtual instruments will work with the majority of MIDI controllers’ pitch bend wheel out of the box. However, if needed, you can always manually map the control yourself with Ableton’s MIDI mapping feature. Pitch Bending In Ableton Live If you’re new to electronic music production, you’ve probably heard …

To insert a MIDI clip into a MIDI track in Ableton, navigate to the MIDI track required, specify the length of the clip in bars in the main interface, then press CTRL + SHIFT + M (Windows) or CMD + SHIFT + M (Mac) and your clip is there! Cant insert a MIDI clip into …

To automate parameters using the faders/knobs in REAPER, open the ‘Track Envelopes’ menu on the track you want to control, set the ‘Automation mode’ to ‘Latch,’ and locate/arm the envelope that you want to automate. Now, you will automate this parameter by turning the correlating knob/fader. Envelope Automation In REAPER Here’s a scenario, you are …
To quantize the velocity of MIDI notes in REAPER, open up the ‘MIDI Editor’ by double-clicking the MIDI track that you want to work on, select the MIDI notes that you want to quantize, right-click one of the notes, choose the ‘Note velocity’ dropdown menu, and select your desired velocity. Controlling MIDI Velocity In REAPER …

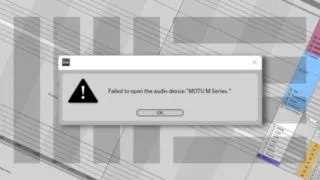
If your audio device won’t open, the first thing to check is that your audio drivers are up to date. Check that you are using the correct driver type. Ensure your audio device isn’t in use by another application. Close and reopen Ableton. Reboot your computer. Failing To Open Audio Device In Ableton When Ableton …

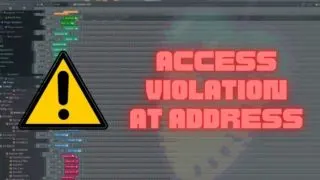
This issue or error is primarily related to problems with how FL Studio reads audio inputs and drivers. The most common workaround for an “access violation at address” is to go to options > audio settings > change your ASIO driver under the device drop-down. Why Me? What Is This Nonsense?! Sometimes in life, things …

Struggling to change BPM Ableton? The simplest way to change the BPM in Ableton is via the tempo bar in the top left corner of the Ableton interface. All you need to do is left-click on the BPM field, type in a new BPM value, and hit the Enter key. You have started on your …
To increase your waveform size in REAPER, all you need to do is hold down the ‘Shift’ key and press the ‘Up Arrow’ key until you have achieved your desired waveform size. Keep in mind that this does not affect the volume of your tracks, just their appearance. Waveform Size In REAPER If you record …

If the REAPER quantize features aren’t working, you probably need to change some settings. Whether you are trying to quantize an audio file or MIDI data, there are settings that you must adjust based on the timing of the track (¼ notes, ⅛ notes, etc.) as well as other parameters. REAPER Quantize Troubleshooting Nowadays, there …

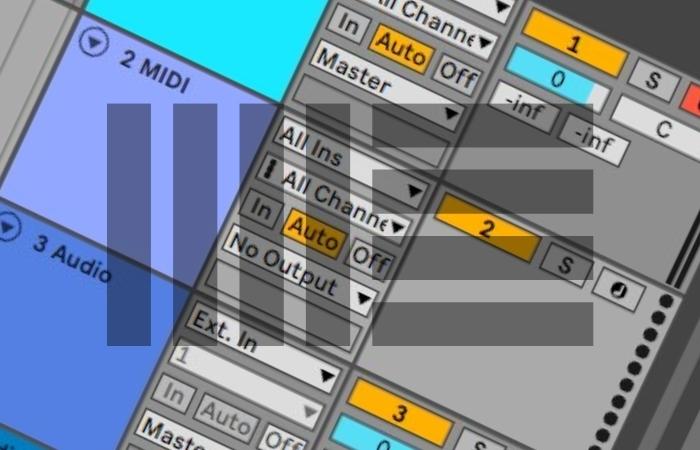
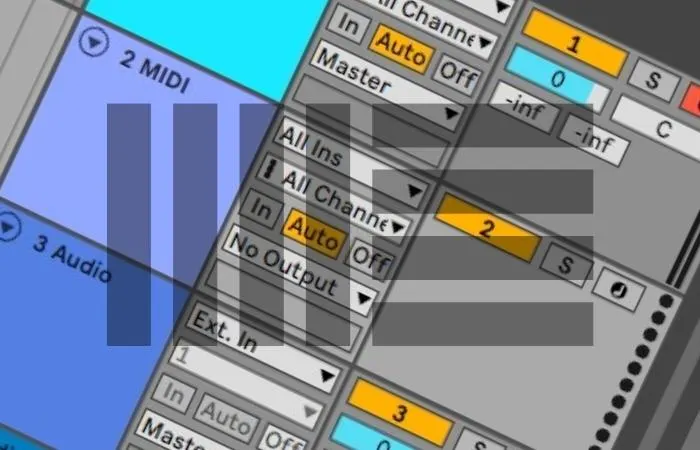
Arming a track enables recording onto that track, whether audio or MIDI. Click the record arm button in the top right of the track with a filled-in circle in the middle. To hear yourself, click Auto or In on the track on the third row down of the second column in the track to allow …


The REAPER Master Meter is the final volume meter of your audio signal chain in REAPER. The level displayed on this meter is the sum of all the instruments in your track. You can change its settings to affect how you see this master output audio level displayed. Metering Your Master Volume In REAPER Without …


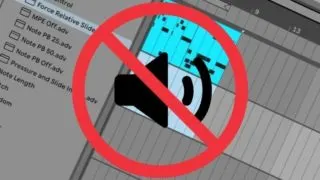
If you can’t see a waveform in Ableton, enable ‘Create Analysis File’ in preferences. Right-click your audio clip and activate it. Drag an audio clip from the session view and move it onto the relevant track in the arrangement view. Restore a missing audio file. How To Fix A Missing Waveform In Ableton I’ve been …


REAPER has a VU Meter plugin called ‘JS: VU Meter’ that you can use to measure an audio track’s average loudness. JS: VU Meter features the classic VU Meter appearance and displays RMS (Root-Mean-Square) loudness and the peak of whatever audio signal you route through it. VU Metering In REAPER The process of gain staging …


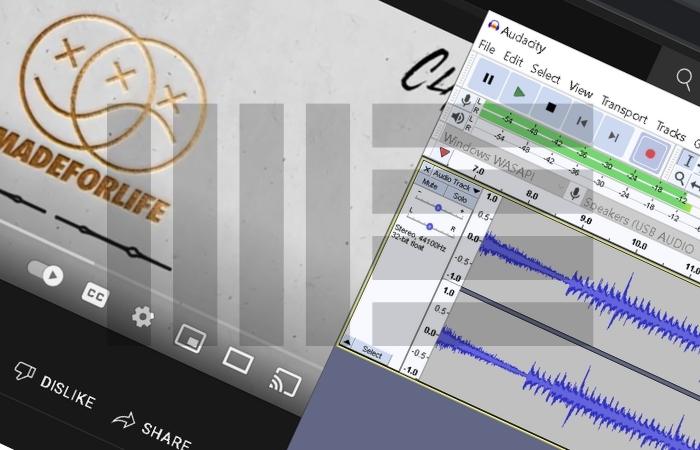
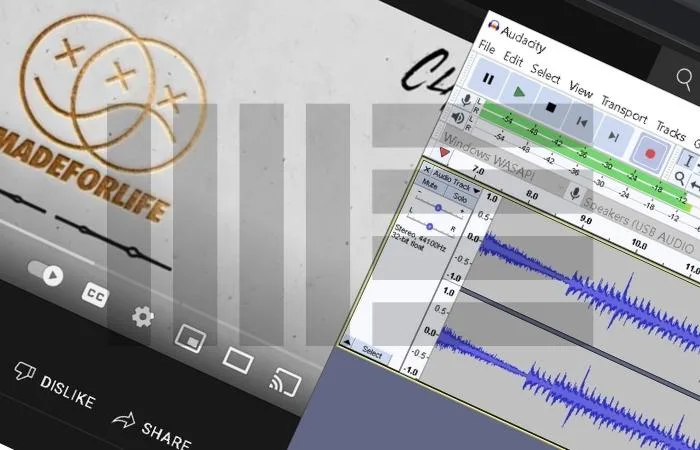
Making a subliminal track with Audacity can be challenging, depending on how you want to approach it. You’ll have no problem putting it together if you only import pre-recorded audio. On the other hand, recording it all by yourself will take some more effort considering workarounds. Interested in making your own affirmations and subliminal audio …

FL Studio has the ability to use your computer keyboard as a piano, and it acts similarly to a MIDI keyboard. If you try to play a note on your keyboard and it isn’t working, the piano typing keyboard function can be enabled by pressing CTRL+T (CMD+T on Mac). Same, But Different… If you haven’t …
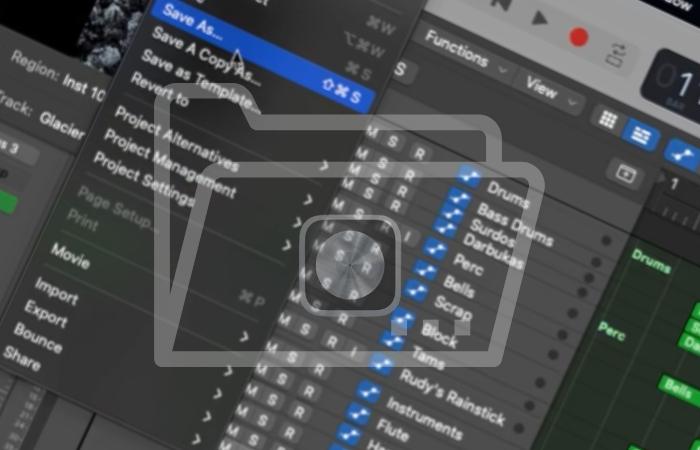
To find autosave files for a Logic Pro session, find the Logic project file in your Finder window, right-click it, and select ‘Show Package Contents.’ From here, click ‘Alternatives,’ ‘000’ (unless you have an alternative), ‘Autosave,’ and you should see any autosave files you have for that project. Autosave Files In Logic Pro Nothing is …
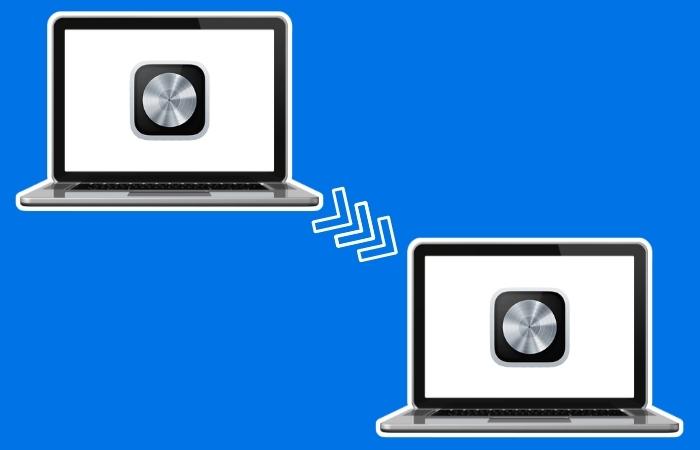
To transfer Logic Pro X to another Mac, sign in with your Apple ID and password on your new Mac, go to the ‘Purchased’ section in the App Store, and locate/redownload Logic Pro X. Keep in mind that you cannot transfer Logic Pro X from one Apple ID to another. Transferring Logic Pro X From …

Double-click your MIDI item to open the MIDI editor and select Edit>Transpose to transpose MIDI in REAPER. Depending on the box you have checked, you can transpose based on semitone or scale. You can even transpose from a major scale to any minor scale. Transposing MIDI Parts In REAPER If you do not know how …

Mono and stereo plugins will both affect your vocals differently. If you want your vocal track to sound upfront and focused, use a mono plugin. However, if you wish your vocal track to sound wide and fill out empty spaces in your stereo field, you should use a stereo plugin. Mono And Stereo Plugins On …


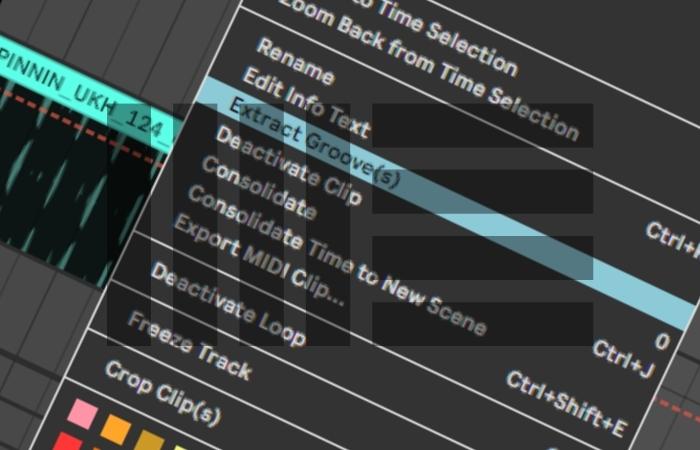
This problem can be solved by reactivating the clips in the Ableton Live software. One way To do this is with the “activate/deactivate clip” keyboard shortcut by opening the “Session View” and selecting the deactivated clips, and then hitting the “0” key on your keyboard. The Struggle Is Real So, it’s the morning after your …

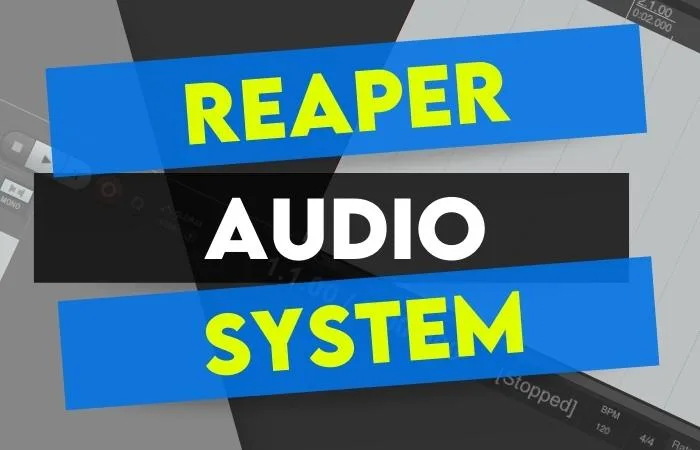
To change the audio system you use in REAPER, click Options>Preferences>Device and select the audio system you want to use from the audio system dropdown menu. The audio system dropdown menu will show any audio device or driver your computer recognizes. Selecting An Audio System In REAPER Not knowing how to designate an audio system/audio …