Organizing your sample library can be a boring and meticulous task. Ultimately, we want to have fun making music and not spend hours organizing messy folders. But what if I told you that a clean and tidy sample library could make the process of creating music more enjoyable?
I’m sure you have been in a situation where scrolling through folders for 10 minutes, searching for just the right sample made you lose the inspiration and excitement about the project.
In this article, I will give you some tips on organizing your sample library, so moments like that can become a thing of the past.
Benefits Of Having An Organized Sample Library
If you think that organizing your samples isn’t worth it, let me try and persuade you otherwise.
We live in a time where professionally sampled sounds are abundant. A quick search for samples on the web will leave you with at least a dozen folders of stuff you’ve pick up along the way. Doing this for several years means that you are probably not even aware of all the good stuff you might already have, which brings us to the first big benefit.
A Tidy Sample Library Can Expand Your Sound Palette
Working as a producer for a while can make you stuck in your ways. You reach for the same tricks, same plugins, and the same samples over and over again. While all of it may sound great, you want to eventually expand your sound and make it fresh and exciting for you, as much as for your future clients.
I can’t even remember how many times I’ve found myself accidentally coming across a sample folder on my hard drive that completely changed my approach to writing a track for the better.
I would be scrolling through the “downloads” folder looking for some images and stumble upon a kick drum sample pack I have downloaded ages ago and never even opened to hear how they sound. Needless to say, those snares sounded amazing, and I have denied myself the pleasure of using them in my productions because they were not in my main sample folder.
Well-Organized Samples Can Improve Your Workflow


This one seems obvious enough, but If I knew how faster my workflow would be, I would have sorted my samples ages ago. You might wonder how time-consuming can it really be to find a sample? But during a long session, saving a couple of seconds on each repetitive task can add up quite a bit. Plus, it makes the whole process of making music in the heat of the moment a real joy.
You can access your desired sounds in a second and keep the initial spark of a musical idea flowing. You could also get creative without the risk of losing too much time- if a certain sound doesn’t really work, you can swap it with another one effortlessly.
The time you save on searching for the samples can be used to try out different sounds. You might find a couple of kick drums that sound perfect for the song you are working on.
A Clean-Looking Sample Folder Can Inspire You To Start Working
Whether or not this applies to you will be dependent on the type of creative person you are, but most of my producer friends say that a well-ordered working environment helps them be more creative and willing to commit to work.
A messy environment can be a downer for me sometimes and usually reinforces my procrastination habits. Having all of my samples neatly placed in a single folder puts me right into the creative zone I need to be working on a song. This is especially useful when working under pressure or feeling stressed about an approaching deadline.
Knowing that all of my tools are there at my disposal gives me confidence and saves me from stressing myself out searching through endless folders.
Tips On How To Organize Your Sample Library
Now that I have hopefully turned you on the idea of organizing your sample library let’s take a look at some common ways to go about it.
Choose A Type Of Hard Drive

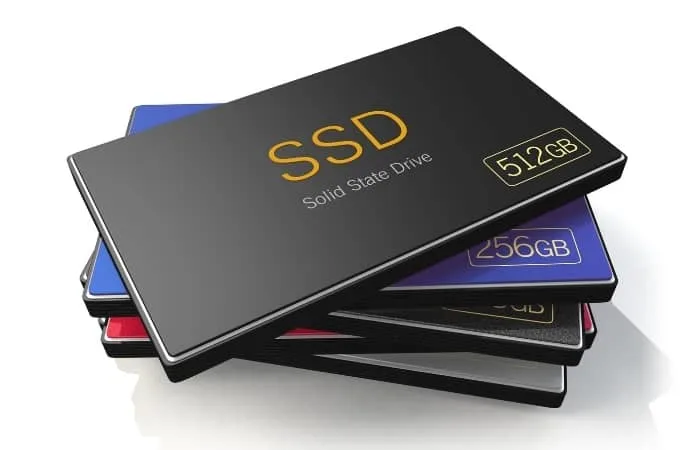
Before you take any concrete action, it’s the perfect time to reconsider your storage hardware. If you do not have one already, I would highly recommend getting an SSD hard drive. While you can still do an amazing job with the old generation of hard drives, SSDs are way faster and greatly improve your working experience, especially when dealing with huge sample banks. However, they are pricier than mechanical hard drives, so it’s up to you to decide whether the performance improvement is worth enough for you to spend some extra cash.
Map Out The Process


This is not crucial, but it can help layout a plan of action beforehand. That way, you will make the whole process smoother and less confusing. If you decide to go for it, I suggest you take your time and figure out the most effective organization that works for you. At this point, you should be thinking about whether you’ll organize your samples by instruments, by genres, or by company name? Should you separate one-shot samples from loops or have them merged in one folder?
This is the perfect time to experiment with different setups and imagine which one would work the best. You could even sketch out a quick visualization of how your folders and files will look during a session.
Secure Your Files


Once you decide how to organize your samples, it’s recommended to back up your files. You will be free to rearrange and merge folders without the stress of potentially ruining or losing important things from your hard drive. To be sure, I do a backup on multiple devices- on my external hard drive, online cloud storage, and a non-system partition of my hard drive in use.
Create A Top-Level Folder Structure
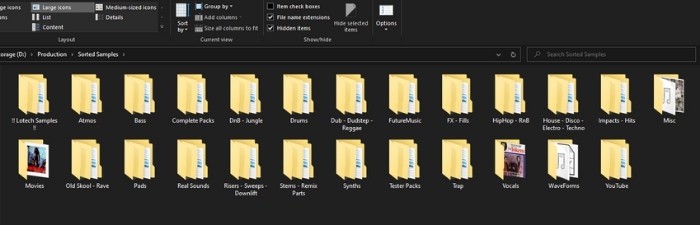
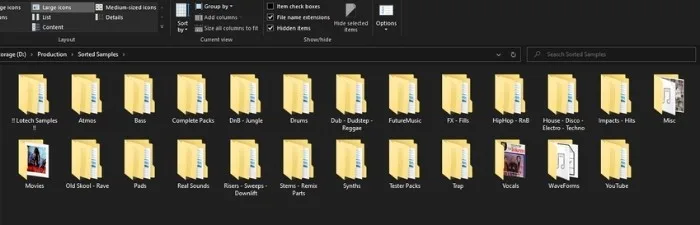
Producers can be really messy when it comes to folder management. Having your sample packs scattered all around your partition or desktop is not worth it in the long run. The best thing you can do for yourself is to have a single folder with all of the samples in it. It will look great in your DAW, and you will be able to tweak it as your needs and preferences change. Also, having a single folder with all the tools you need makes sure that you don’t overcomplicate and keep everything nice and organized.
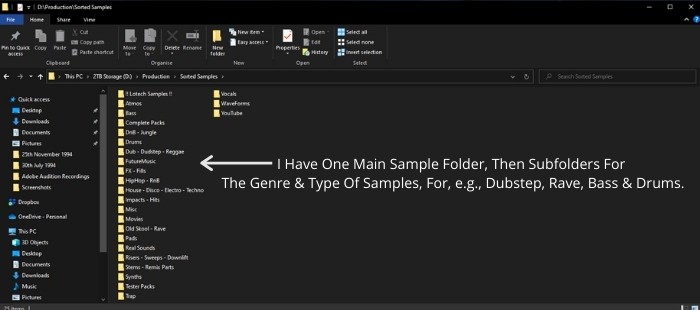


Determine Your Organization System.
The system you choose is entirely up to you. However, I would recommend keeping things as simple as they can be. One way to achieve this is to cut back on subfolders. Ideally, you wouldn’t have more than 4. You really don’t want to sift through a dozen folders to find one sample.
The next step is to choose how you are going to organize your samples. There are 3 major ways to organize them:
- By instruments or sounds (e.g., Snares / Risers).
- By the company or artist name (Shogun Audio / Rockwell).
- By genre (Drum & Bass / Dubstep).
Each method has its pros and cons, so let’s take a look at each one.
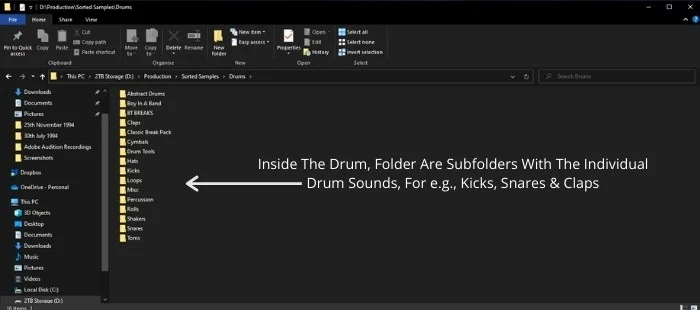
Organizing Samples By Instruments
Choosing to organize your samples by instruments is a great way to go about it. The idea is to place all the samples of the same instruments in a separate folder. You will have a folder for all the kick drums, snares, synths, claps, etc.
A big advantage of this system is that you can audition various sounds on the spot. If you are at a point where you are deciding which snare to use, it’s handy to have them all in a single folder so you can quickly swap them around and see which one works the best. It’s also great that you do not limit your creativity by having samples ordered by genres. Sometimes a rock snare can sound amazing on an EDM track.


This variety of sounds can also be a downside. You might actually be more comfortable with having consistent sounds in each folder so that you can quickly get the expected sound that works.
Organizing Samples By The Company Or Artist Name
Many producers like to have their samples organized by the company or artist name that created the sample pack. This system is great if you know exactly what you want. If you feel the need for an 808 kick, you can reach for a favorite pack with a single click. It will also take you the least amount of time to organize since the production company already labels the pack’s different samples.

A downside of this system is that it makes you get stuck in your tried and tested ways of doing things. You might find yourself reaching for the same samples over and over. Although it does give great results, it can badly affect your creativity and innovation. It’s always a good thing to be familiar with all of your samples.
Organizing Samples By Genre
My least favorite way of organizing samples is by genre. However, this doesn’t mean that it can’t be useful. If you are working on a project that requires you to stick to the usual sounds typical for the genre you are producing, it can be a quick way to get things going. It’s a no-brainer – if you are working on a dubstep tune, use samples that were curated with that style in mind, and you’ll probably get great results.

A drawback is that some sounds work very well across genres, so you might miss many good options or have to spend some extra time finding the sounds in other folders.
One-Shot Samples And Loops
The next thing to consider is whether you want to merge one-shot samples with loops or have them separated. Most people feel more comfortable having them in separate folders as it is more practical and looks tidier. You don’t even have to bother labeling one-shot samples- make them default and focus on labeling loops only. You can place loops in bigger subfolders like ”Drums” or ”Strings” so you have quick access with a couple of clicks. Having everything merged won’t present a big problem if you clearly indicate which ones are in the file name.
VST Instruments
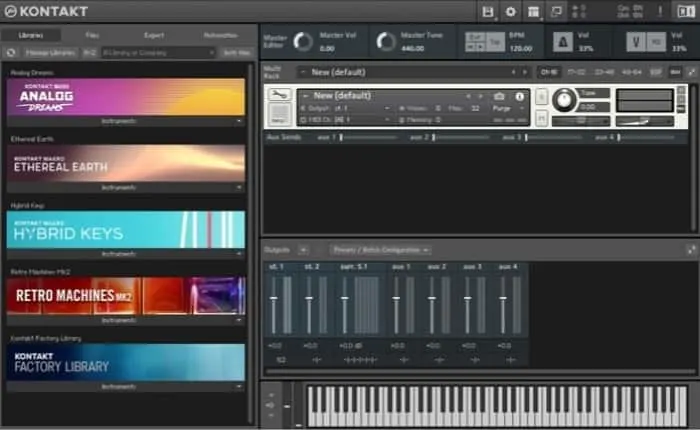
A nice way to organize these is to put all of your VST instruments in a separate folder. If you happen to need a particular sample and don’t want to load a whole instrument, you can make a copy of the ones you are likely to use the most and move them into an appropriate folder with the rest of your sounds.
This is especially useful in sessions that are CPU heavy, and importing a whole Kontakt instrument or a Kontakt library can make your machine work extra hard.

Sample Management Software
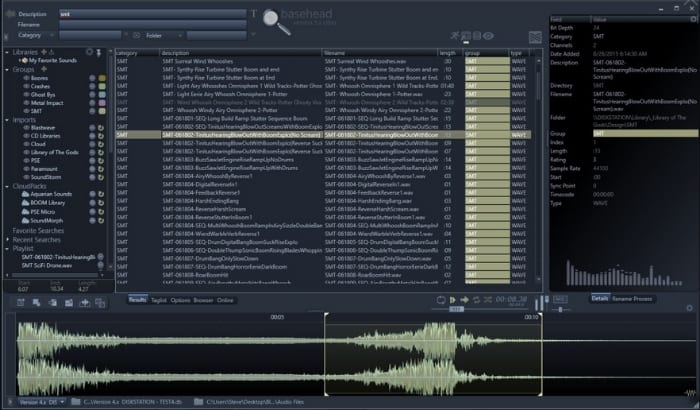
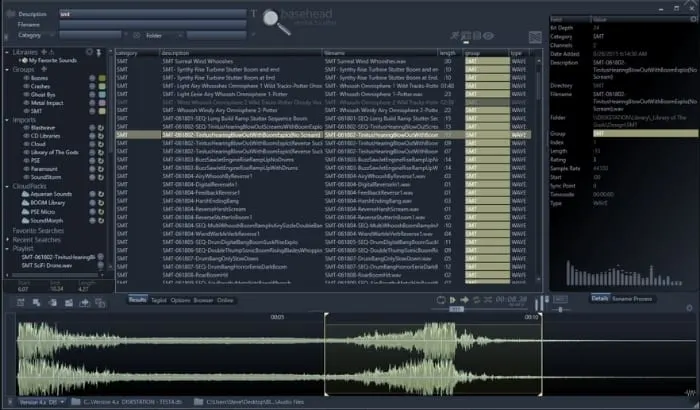
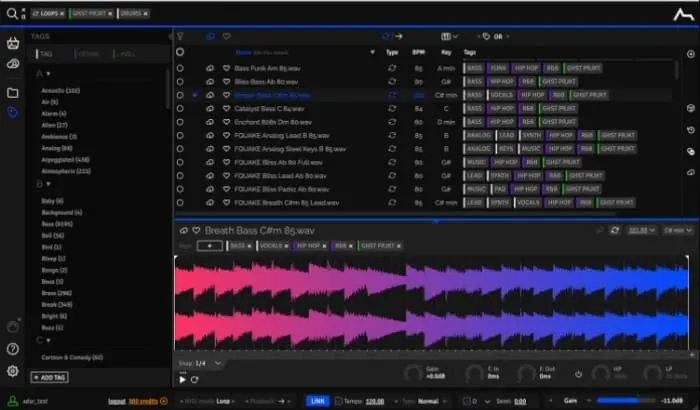
If manual selection looks too demanding and time-consuming for you, software solutions can automatically do this for you. There are pricy options that supposedly work the best, like BaseHead, but there is also a free one called ADSR Sample Manager. Other options include programs like Sononym, Atlas, and XO.
BaseHead
ADSR Sample Manager

Sononym
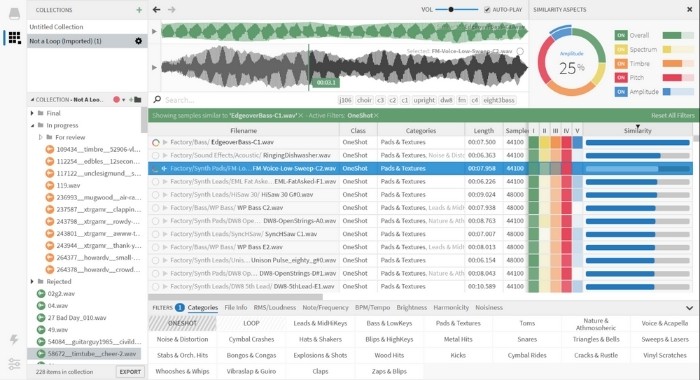
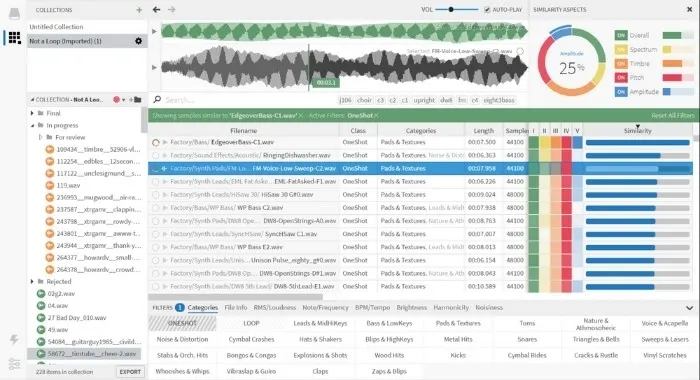
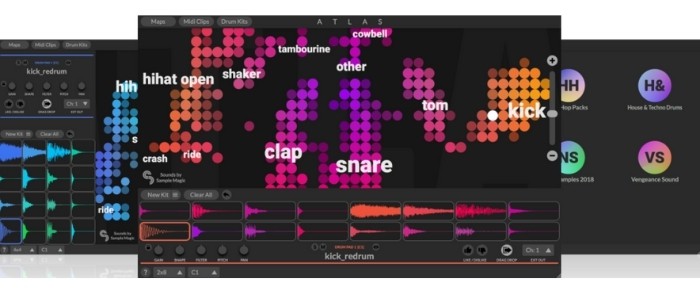
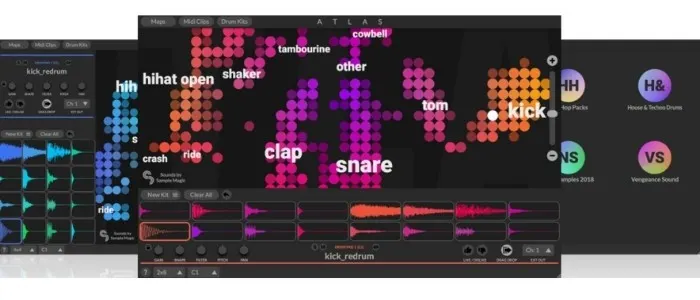
Atlas
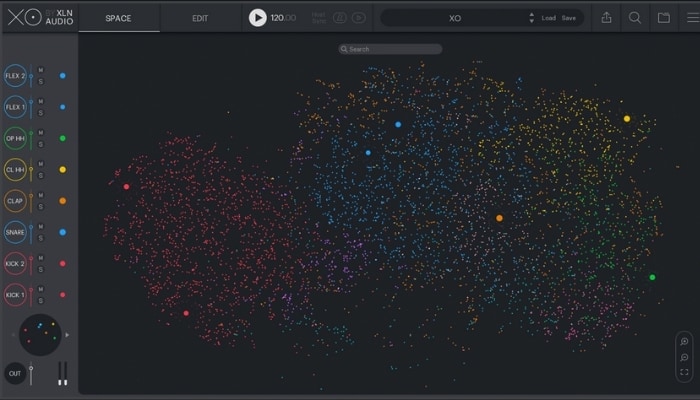
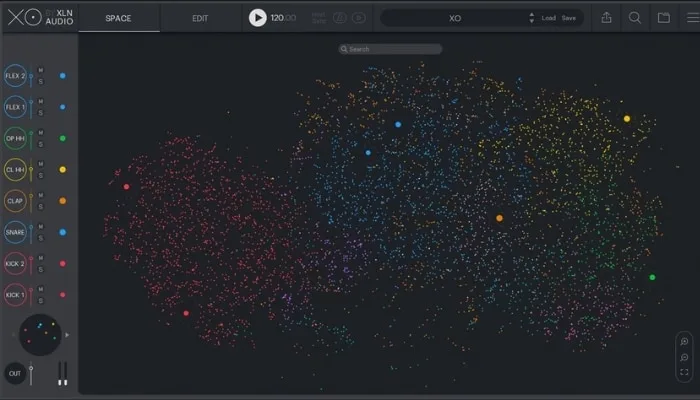
XO
Loopcloud
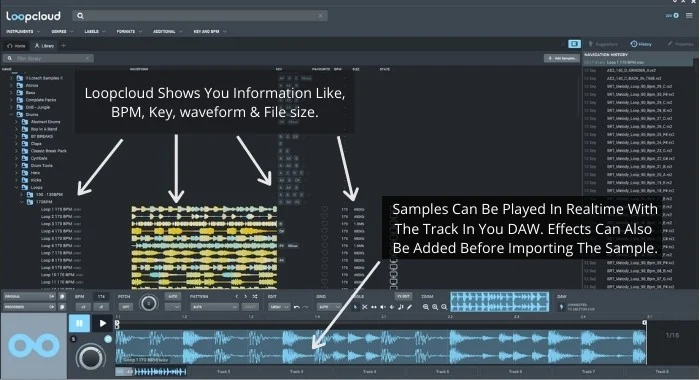
I’m a big fan of Loopcloud by Loopmasters.
Loopcloud is the most innovative and well-designed sample library of its kind, giving you access to millions of different samples along with organizing all of your samples, all in one place. It will index and protect all of your sounds and allow for easy access anywhere in the world. It also lets you loop a sample with your track that’s playing in your DAW, and make changes to the length, key, tempo, plus add effects, all before deciding to drag it in or not.


Click The Banner Below For A Free Loopcloud Trial

Clean Up Your Sample Library
Now that you have decided which file organization system works best for you, you should invest some time into getting rid of unnecessary sounds you either dislike, don’t need, or even duplicates. This can be useful in a couple of ways.
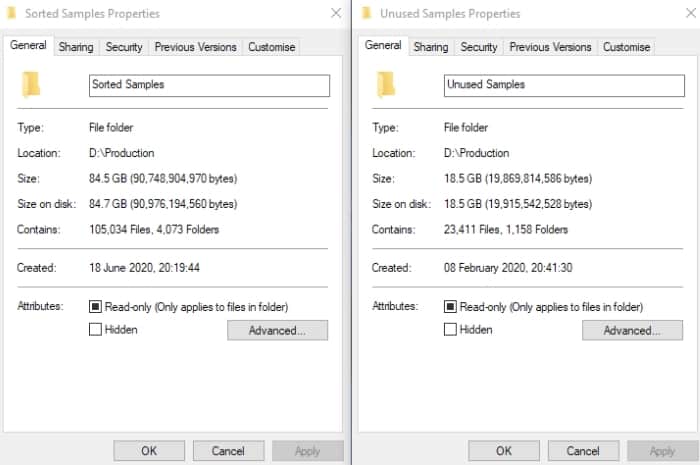
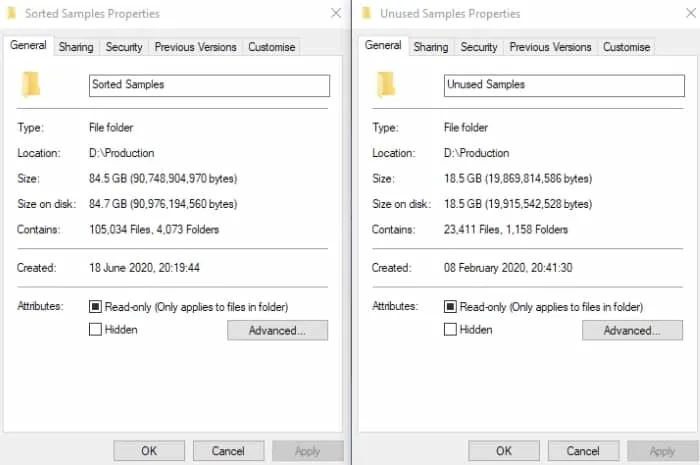
First of all, you will free up some much-desired hard drive space. Sample files are getting bigger by the day. A typical size for a sound library can be up to 100 GB (I currently have 417 GB of sorted and 84 GB of unsorted), so every free gigabyte is welcome. You shouldn’t overload your hard drive with data since you decrease its lifespan and risk losing everything if something goes wrong.
Another benefit is that you get familiar with all of the samples that you have. Many producers, myself included, have a bunch of folders filled with sample packs that they’ve never even opened. This is a great chance to see what hidden gems you might have. This task makes sense only if you have a reasonable amount of samples. Auditioning through 800 GB of samples probably isn’t worth your time.
Cleaning up redundant stuff also means that you will have an easier time sorting your samples, and you will only be left with unique and usable sounds. You probably don’t need three or four 808 drum kits. Most of them are sampled off each other anyway.
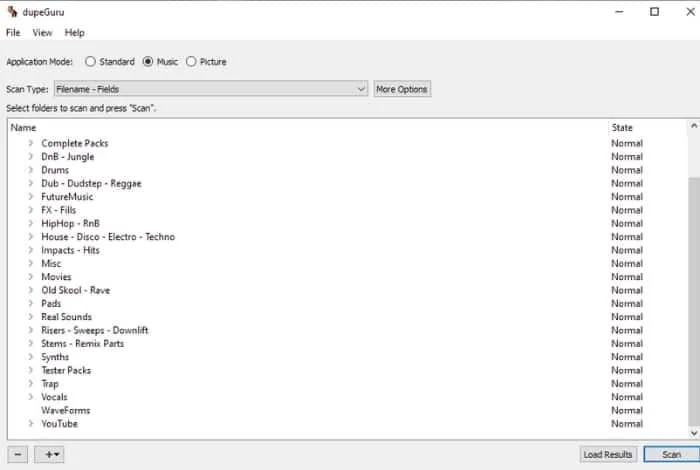
To clean up my sample folders I use a fantastic free bit of software called dupeGuru.

Name Your Sample Files In A Way That Works For You
Many sample packs have files that are not labeled the right way or use synonyms rarely used; a common problem concerns labeling vocals. Sometimes they are labeled as “echoes” or “voice.” You want to have a single word that will display on every single sample, which has something to do with sound. You can solve this by manually adding keywords to each sample. It might seem like too much work, but you can do it while using the sample in a track and do both tasks simultaneously.
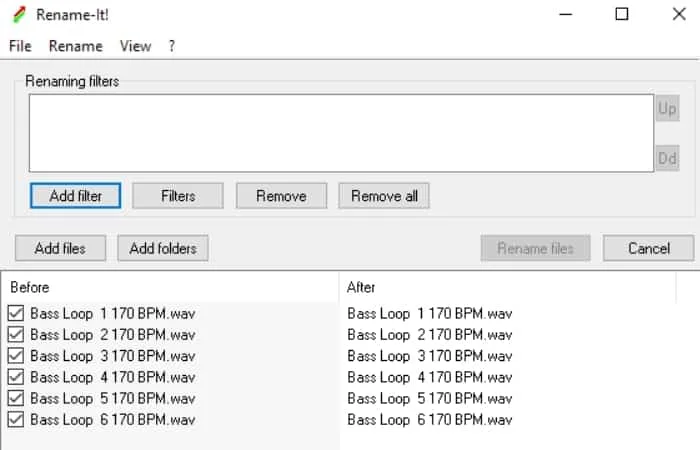
Adding useful keywords will work even better if you have organized your samples by instruments. That way, you will have a vague idea about which sample to use first. A practical keyword would be something like “Kick Sub,” “Kick Punch,” or “Kick 808”. You can also use software to speed up the process. If you don’t like the idea of renaming files one by one, programs like File Rename Pro or Rename It will allow you to batch edit file names of your samples.

You can add as many keywords as you like, but you’ll probably need no more than four. You can add genre, company name, and words that fit in the way you personally view your samples. There is also a lazy option where you add a keyword to an entire folder that contains some vocal samples, among many others. This won’t give you vocal samples exclusively, but they will be somewhere on the list.
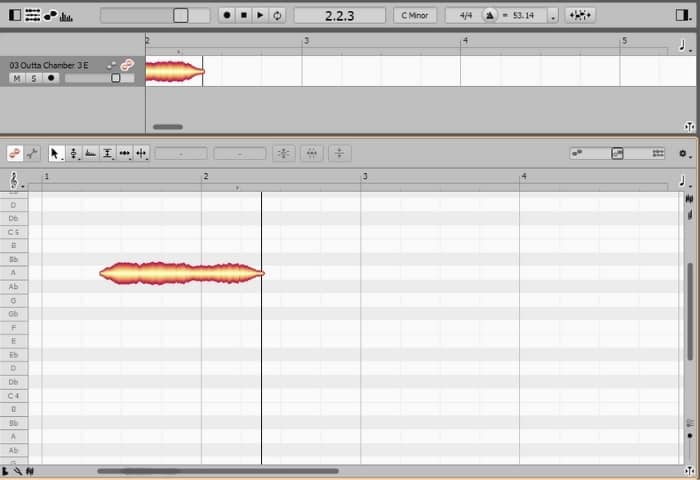
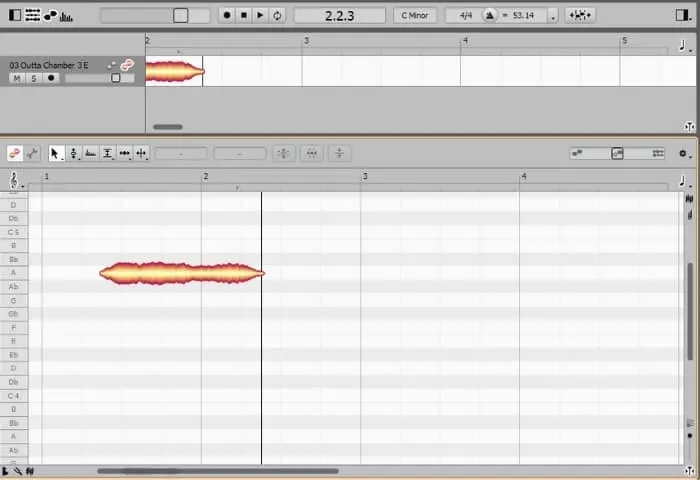
Another meticulous task includes adding key signatures and bpm to loops that do not contain such information. You can do it by ear or use software to help you out. For such tasks, I use Melodyne since it allows me to see both parameters with a single analysis. You can also use free websites like Audio KeyChain, and again Loopcloud does a pretty good job of this. Adding keywords like “B minor_140 bpm_ Wave Synth,” for example, makes a world of difference when building a song with prerecorded sounds.
Build A Favorite Samples Folder
Having all of your favorite sounds in one place can be a great way to keep the creativity going without auditioning various samples. You can do a rough version of your song with samples you know well and afterward come back to it and refine the sound design. A good tip is to put this folder on the top of your folder hierarchy by putting a hashtag at the beginning.

Final Words
It’s important to note that ultimately it’s up to you to decide which approach works the best for you. If my way of organizing sounds doesn’t work for you, you’ll hopefully be inspired to tweak my version to fit your needs or come up with a new way altogether.
I will stress that having an organized sample library really makes a world of difference and will definitely improve your workflow.
With that said, it’s time for me to go and shift through 18GB of samples!